Start with the checklist for your trip: supported trekking, independent hut stays or camping. Then work through the layers, pack layout and route-specific equipment that make long days outside more comfortable.
A final check before you leave
Your summer trekking checklist
A guide, a hut bed and a luggage transfer are separate arrangements. The list changes with what your trip supplies. This guide covers summer trekking; winter and technical routes need specialist preparation.
Use this format when main-luggage transport is confirmed. You still carry the day's essentials, and should expect to be separated from the transferred bag while walking.
In your pack: Keep waterproofs, insulation, food, water, medication and route-specific kit in your own daypack. Dry evening clothes and other agreed overnight items can travel separately.
Confirm: Ancient Trails includes huts, meals, sleeping bags and main-luggage transport. Its packing list asks for a daypack, one soft duffel, waterproof hiking boots and river shoes. Other supported treks differ: confirm supplied equipment, bag limits and when you next see your luggage.
Supported trek
0 of 26 items checked
Tick items as you pack or confirm that they are supplied. For an independent trek, add the food, shelter, navigation and communication equipment required by your route.
Compare against the actual departure
Read the latest trip list beside this one. Confirm bag transport, supplied sleeping equipment, meals, footwear and any specialist kit. Tell the operator about dietary or personal requirements early enough to plan supplies, rather than at the trailhead.
Do one complete rehearsal
Pack, walk, remove a layer, put on waterproofs and repack. Check batteries, straps and anything unfamiliar. Independent campers should pitch the tent and test the sleep and cooking equipment before leaving home. Fix the awkward parts while there is time.
Finish the travel plan as well as the bag
Check forecasts and local advice, save bookings offline and confirm transport at both ends. Independent hikers should leave a route and return plan with someone who can respond, and update it if plans change. With a guide, confirm the meeting instructions and the equipment review.
Layers need to work while climbing, during a cold lunch stop and after a wet day. Test that your waterproofs fit over insulation and can be put on without unpacking everything.
The layer against your skin
Manage moisture during steady walking.
A comfortable wool or synthetic top, suitable underwear and walking trousers; add base-layer leggings as conditions require.
Avoid cotton as your outdoor base layer. Choose clothing you can move in without rubbing under pack straps. Test the combination while walking uphill, and adjust it before getting excessively hot rather than waiting until a stop.
Warmth you can adjust
Add insulation when walking slowly or stopping.
Fleece or wool, with an additional insulating jacket when the conditions and trip require it.
Keep a warm layer in the walking pack even on a supported trip. Choose a combination that fits under your shell without restricting movement. Protect insulation from rain inside the bag, particularly if using down; a lunch stop can feel colder than the climb.
Protection from wind and rain
Cover both your upper and lower body when conditions turn.
A waterproof, windproof jacket and waterproof trousers, plus warm headwear and gloves.
Try the hood, cuffs and trouser openings before travelling. Check that the shell fits over your other layers and can be put on easily. Keep it accessible. A lightweight shower jacket or a pair of water-resistant walking trousers should not be mistaken for a full rain system.
A dry set for the evening
Give yourself dry clothes to change into after the walk.
A spare base layer, underwear and socks, packed separately from damp walking clothes.
Seal this set inside waterproof storage and keep it for the overnight stop. On a supported trek it may travel in your duffel, but retain the backup warmth specified for your daypack. Avoid packing a fresh complete outfit for every day when a smaller rotation meets the trip's needs.
Test socks, boots and pack together on a hilly walk with food and filled water bottles. Assemble the kit before choosing pack capacity.
Illustrative layout · adapt it to the pack you use.
Where the essentials go
1
Quick access
Waterproofs, hat, gloves, snacks, water and personal items you may need during the day.
Put these in reachable pockets or near the top. Keep medication and electronics protected from water. Access should remain simple after you have taken one layer off and repacked it.
2
Stable middle
Denser items such as food and water, with space for the walking layers you remove.
Keep weight balanced and close to your back, adjusting for the pack's design. Avoid a heavy object pulling away from your shoulders or an overfilled side pocket making the load uneven.
3
Protected overnight kit
Dry evening clothing and sleeping equipment, if you are carrying them yourself.
Keep items not needed on the trail protected inside the lower part of the pack. With luggage transfer, most overnight kit belongs in the agreed separate bag; your daypack still needs its own weather protection and backup warmth.
Test footwear on a descent
Use your intended hiking socks and a loaded pack. Check for toe pressure, heel movement and rubbing on uneven ground. Ancient Trails asks for broken-in waterproof hiking boots; follow the footwear requirements of your booked trip rather than substituting an untested pair at the last minute.
Load the pack honestly
Include the items often forgotten in a fitting: water, lunch, shell trousers, river shoes and a spare layer. Adjust the harness and hip belt, then walk for long enough to notice discomfort.
Practice reaching what matters
Find your waterproofs, gloves, water and snacks without emptying the pack. Check that pockets work with the hip belt fastened. If an item repeatedly becomes awkward to reach, change its position before the trip rather than accepting the inconvenience for several days.
Check the whole packing system
Inspect fastenings, footwear soles and waterproof storage. Put sleep kit and dry clothes inside a liner or separate dry bags, and give damp items their own place. Carry small repair supplies suited to your equipment, or confirm how shared repairs are handled on a guided trip.
Remove unnecessary duplication after checking what is supplied. Keep the warmth, food and personal essentials needed when a day takes longer than planned.
Putting the useful layer in the wrong bag
The warm jacket is travelling with the luggage when you stop for lunch in wind.
Pack the walking bag first and treat it as the kit you will have until the next overnight stop. Add the shell, insulation and other day essentials before allocating the remaining clothes to your duffel.
Buying for an imagined trip
A large bag, extra sleeping bag or heavy cooking set is purchased before checking what is supplied.
Read the departure information and make a provided-versus-bring list. Confirm gaps with the operator or hut. Borrowing or renting suitable kit can be practical, but allow time to inspect and test it.
Counting on a full reset every evening
The plan assumes dry boots, a washing machine, a shower and a charged phone each morning.
Check actual hut facilities and pack to manage several simple nights: protected dry layers, spare socks, modest toiletries and adequate power. Keep the packing routine easy to repeat in a shared room.
Reducing weight in the wrong places
Waterproof trousers, food or personal medication are removed while optional duplicates remain.
Lay everything out by purpose. Cut redundant outfits and nonessential extras first, then test the complete load. Independent hikers must still cover navigation, shelter and emergency arrangements appropriate to the route; a shorter list is not automatically a better one.
River footwear and sleeping equipment depend on the actual route and overnight provision. Having river shoes does not make a crossing passable.
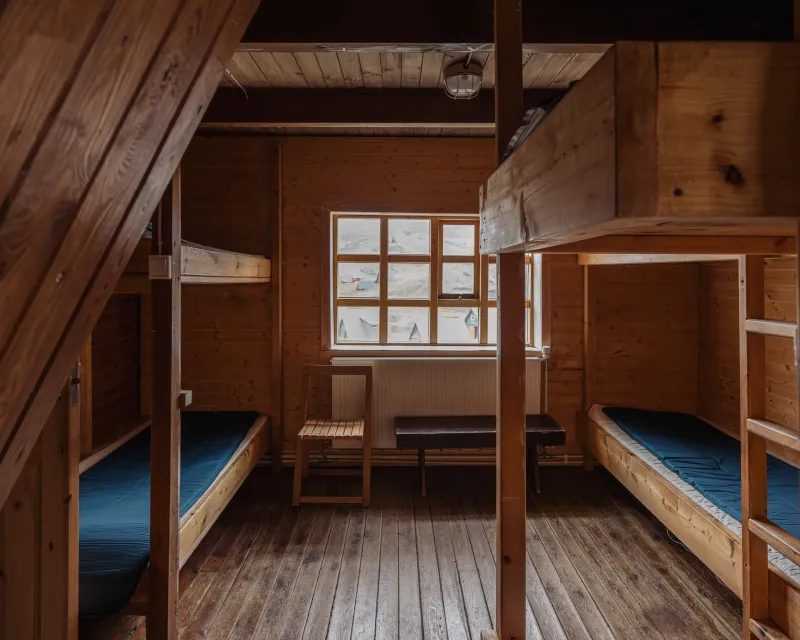
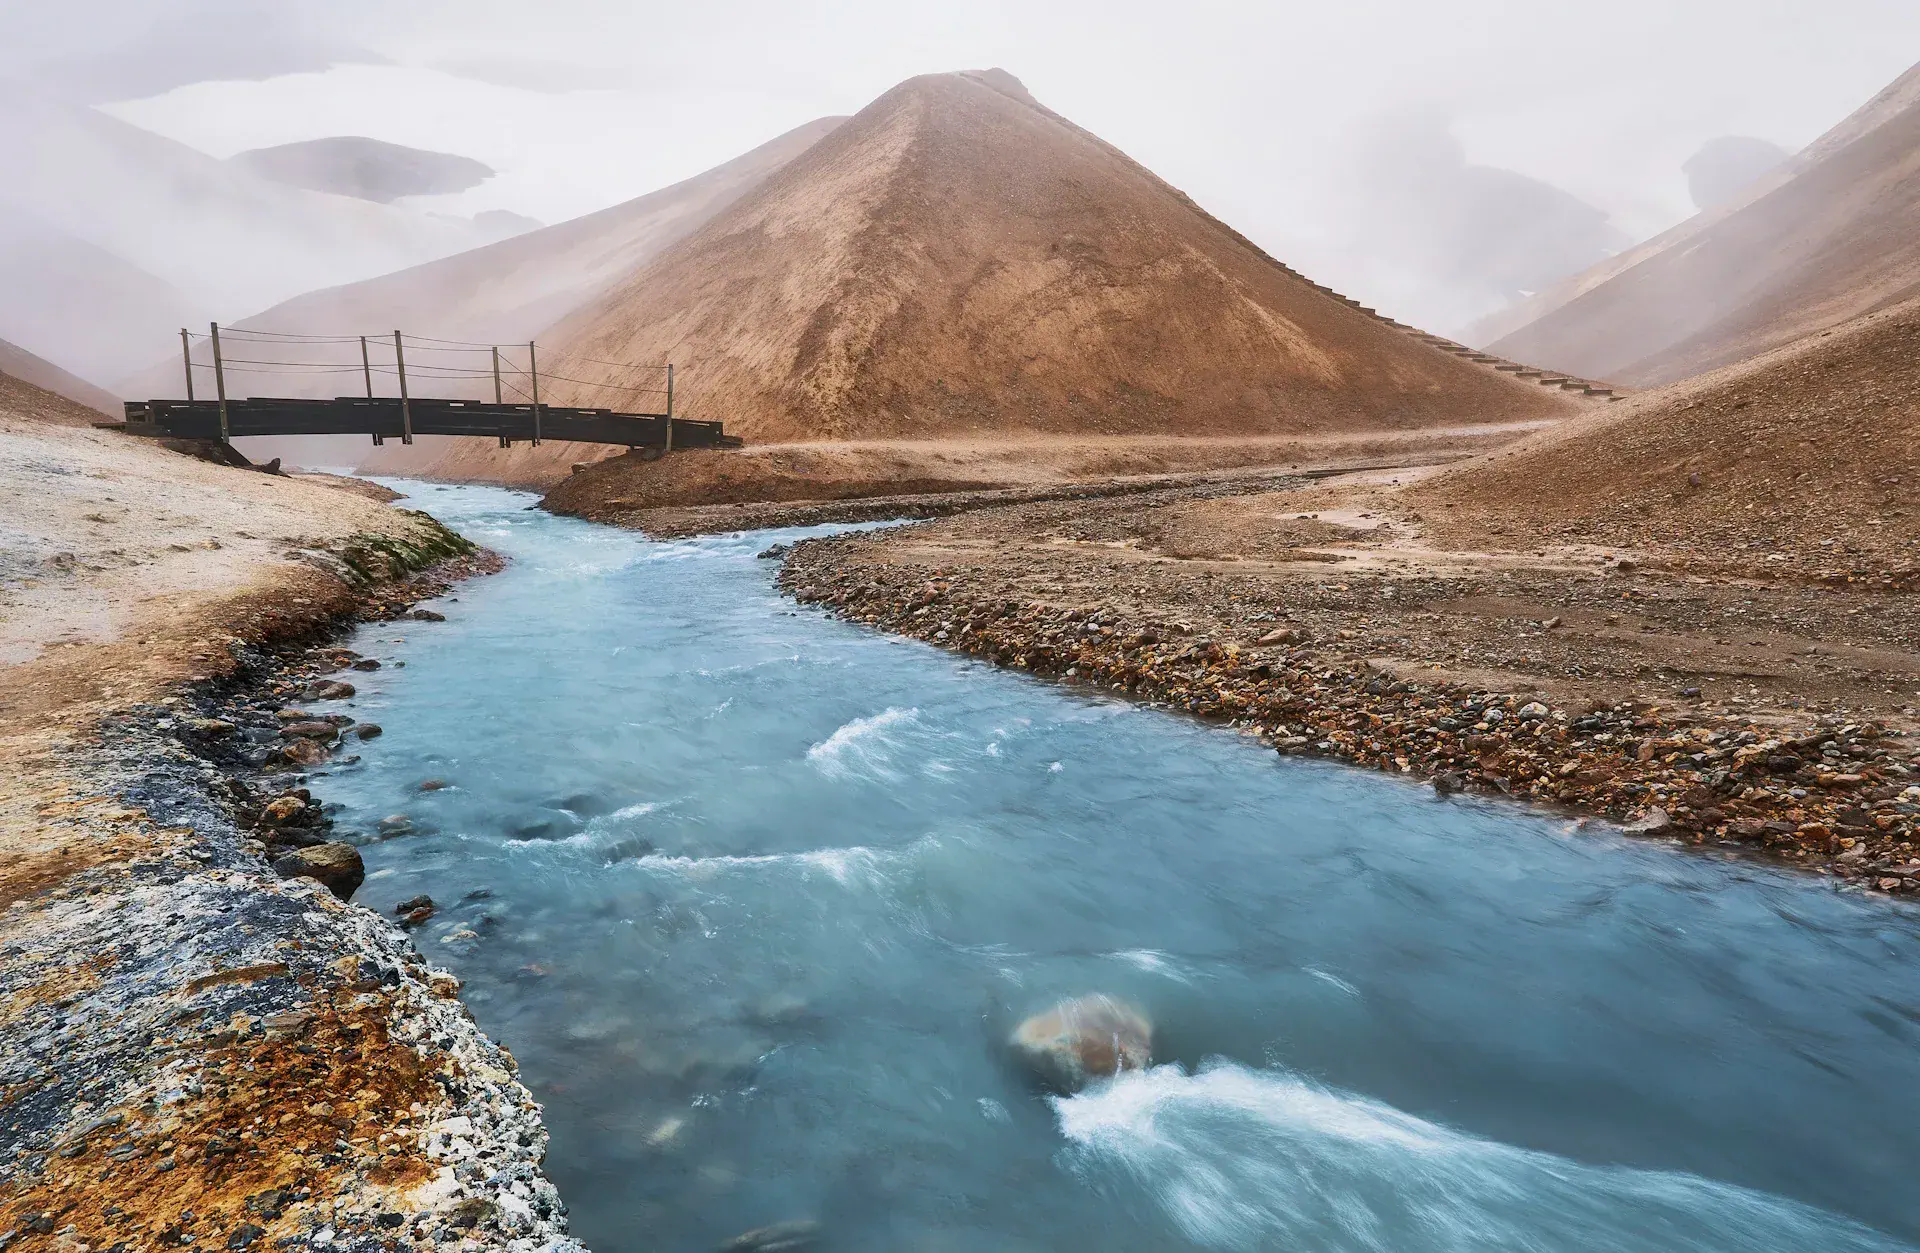
Route planning comes before river equipment. Confirm whether your walk includes unbridged crossings and follow the guidance for that route.Shared sleeping space in the Kerlingarfjöll hut. Check the sleeping-bag and bedding requirements for every place on your itinerary.
River footwear is route-specific
Bring secure shoes with grip when the route requires wading; SafeTravel suggests wading shoes, sandals or trainers rather than bare feet. Ancient Trails asks for river-crossing shoes. Avoid loose flip-flops. Follow your guide or obtain current local advice; equipment is never a reason to enter water that exceeds your experience or looks unsafe.
A hut mattress is not bedding
For an independent FÍ hut stay, bring a sleeping bag: blankets and bags are not supplied. A liner alone is not equivalent. Ancient Trails supplies a sleeping bag as part of the trip, so confirm any personal additions before bringing a duplicate. Camping needs a suitable bag and insulating mat as a complete sleeping system.
Keep shared hut life simple
Bring dry socks or indoor footwear, compact toiletries and a small towel. Earplugs and an eye mask can help in shared sleeping spaces. Follow the warden's instructions about wet clothing and outdoor shoes. Showers and drying arrangements vary; do not pack on the assumption that every evening includes either a shower or a reliable drying room.
Plan food, water and power
Confirm what meals are supplied and what you carry each morning. Independent walkers need a route-specific food and refill plan. Bring enough battery capacity for the intended use of your devices: FÍ's Laugavegur hut guidance says guests cannot rely on charging there. Download maps and booking information before leaving a reliable connection.
For an independent FÍ hut stay, yes: bring your own sleeping bag, as blankets and bags are not supplied. A liner alone is not a substitute. Ancient Trails includes sleeping bags. Other supported trips vary, so confirm provision before buying or packing one. Camping requires a bag and mat suited to the conditions.
How large should my hiking pack be?
Choose capacity around what you actually carry. With confirmed luggage transfer, the daypack needs room for weather layers, water, lunch and personal or route-specific essentials. Independent hut and camping trips add overnight gear and food. Assemble the kit, test the full load and follow any operator requirements rather than relying on one litre recommendation.
Can I wear trail shoes instead of hiking boots?
Follow the requirements of your booked trip. Ancient Trails asks for broken-in waterproof hiking boots. For an independent route, choose footwear for the terrain, conditions and your experience, with reliable grip and a fit you have tested over consecutive walking days. A familiar shoe on an easy path is not automatically suitable for a loaded Highland trek.
Do all Iceland hikes require river shoes?
No. Check the actual route; Ancient Trails does ask guests to bring river-crossing shoes. Where wading is required, use secure footwear with grip rather than bare feet or loose flip-flops. Footwear does not make a crossing safe: follow your guide or obtain current advice, and change the plan when the water is unsuitable.
Do I need waterproof trousers in summer?
Yes, pack waterproof trousers as well as a jacket for a multi-day Highland trek. Wind and rain can arrive during summer, and you may spend hours outside. Check that the trousers fit over your walking layers and keep them in your daypack even when your main luggage is transported.
Can campers use hut kitchens and charge phones?
Do not assume either. FÍ says campers need their own cooking equipment and do not have access to hut kitchens. Its Laugavegur guidance also says charging is unavailable in the huts along the trail. Check each stop's current facilities, carry adequate power and arrange food and fuel before beginning the trek.